Friday, March 28, 2014

Fall Patch

Finished this up last night so I could send it out today.


Bah, that pic is so washed out.  But I think you can still see that I beaded up two of the corn cobs.  I also did just a bit of embroidery on it, too.


How freaking cute is the back?

I was kicking myself that I didn't use THAT as the front, but I forgot I had that fabric until I went looking for backing fabric.  Not that I don't like the fabric I used on the front but those chipmunks are just the best!

I really liked doing the beading on this one.  I'm going to have to do that more often.

Thursday, March 27, 2014

Paintings

Next week is the new session for my painting class.

So it's time to show off the things I've wrapped up lately, since I haven't been posting progress reports.

I *finally* got all the Little Portraits done.


Priscilla


Clark


Mr. Roboto

Last night I re-did the background on Mr. Roboto and DAMN does it make a difference.  The background was just too dark before and this lighter choice is so much better.

Over the last few sessions, I also did an abstract painting.


The photo doesn't do this justice.  I really wanted to play with texture and this painting has some nice chunks and globs of paint.  That means it's going to take forever to fully dry.

So, now I need to figure out what I'm going to paint next.  I'm still kind of tired of painting my sewn creations but I do have a pretty nice picture of Violetta (the small version of the squid) that I think would be fun to put on a BIG canvas (ok, not huge or anything but big compared to the ones I've been working on lately).

But I also kind of want to do another abstract just because they are so quick and loose to do.

I've also been curious about Pointilism.  But I'm not exactly sure how to approach that type of painting.  But I kind of want the challenge.

I have a week to figure it out.

Wednesday, March 26, 2014

Two Patches

Two patches I finished up last night.

Oh, let me just add this first:

SPOILER ALERT

If my swap partner (bennysmumma) is looking these are BOTH for you.  If you don't want to see them yet, LOOK AWAY!!

I like to post them as soon as I make them so I don't forget.

Ok, time for pictures.

First up, a patch for the Johnny Cash song theme.  You had to make a patch inspired by a Johnny Cash song.


I chose the song "Sam Hall".

The song is a man who's on the gallows and cursing out folks who have wronged him.  Soooo. . I decided to make a noose.  I have to be honest, I was torn about making the noose since it can be a powerful symbol that could be disturbing to folks but I feel in the context I'm using it is not hateful or threatening.  I also deliberately chose more whimsical colors (heck, they're halloween colors) so it wouldn't be too sinister.  That and the eyes I used are goofy so the noose couldn't be super serious or it would clash.


"So a swing'n I must go, I must go."

This is an actual functioning noose, too.  The internet taught me how to tie it.  It's not hard but it is tricky.  I think it was harder because I was using lighter string and not heavy rope.  So I had to tape the string down in spots so it wouldn't flop all over the place.  Once I had it secured the tieing was MUCH easier.


The curse Sam Hall uses over and over again is "damn your eyes".  So I put eye beads on the corners.  My original thought for this patch was to just make one great big eye but I didn't think I could make it look nice enough and I didn't want to make a crappy item.  And I have a lot of these beads and I like putting beads on the edges.  I also like having dimensional items on the patch, like the noose that's actually swinging (not stitched down).  I also thought about just embroidering a noose image but I couldn't draw one nice enough.


The back fabric is spooky looking tree branches.  I really just wanted something dark so it wouldn't distract from the front of the patch.  That's why I kept all the stitches the same color and matched it to the fabric.  Usually I just use whatever bits of floss I have heaped up in my floss box but not for this one.

OK, time for something a LOT lighter.

I signed up for the "I wish for a ________" TAG.  There you tag the person ahead of you (and make a patch from one of their wished for themes) and then you list a few themes you'd like and then you wait for someone to tag you.

When I saw a wish for a Bob's Burgers patch, I bit.

First I was going to make a character patch.  I had decided on Louise because I have a nice printed out image of her and I wanted to take on making her hat (maybe using fleece?).  But to be honest, she's not my favorite character and I'm not sure if she's my partner's favorite either so I wasn't totally excited about it.

So I started googling images for Bob's Burgers and I found the PERFECT image.


It's one of Tina's posters!!

And the size was perfect for a patch.  AND!!!  And it gave me a chance to try out crayon tinting.

I could hardly wait to get home and make this patch.

At first I was going to tint the main parts (horses, words, hearts) and then add some embroidery (maybe all the outlines?) but once I got it all colored it just really felt like a poster.  Very flat like that which I liked.  So I just sewed the top fabric to the felt (along two edges so it would be pulled fairly taught) and then did the backing.


Horses on the back, of course.  I think Tina Belcher would approve.

And incase anyone is keeping track, Tina is my favorite Belcher.  She's just so awkward but she really OWNS it and makes it work for her in her own way.  I also appreciate her fondness for butts.  Butts really are fabulous for so many reasons.

Monday, March 17, 2014

Fabric Fast: Broke the Fast

Time for a Fabric Fast True Confession.

I just broke the fast.

Actually, it's the second time I broke the fast.  But for the record, both purchases were for projects.  But one project is one I decided to do once I saw the fabric.

First things first.

My first break was to buy fabric for a swap I'm in.  Normally I wouldn't buy fabric for a swap.  I'm even trying to avoid joining fabric swaps where I'd need to buy to participate.  BUT, this project was for a Teesha Moore patch bag and I needed a bit of yardage to make the bag (the bag has to be lined and I didn't have enough yardage to make the shell and lining).  And since I was buying fabric to make the bag body, I decided to get a bit of fairy print fabric to make some patches, too.  So I got a yard of the rose print in the Briar Rose collection (since my swap partner likes roses) and this super cute fairy fabric.

I'm not showing the fairy fabric off just yet.  I want to wait for the bag reveal to show it off.  I got a half yard (smallest cut they sold) to insure I had all the images.  I'm SO glad I got that fabric.  It's gorgeous and going to make some very beautiful patches.  I might just make the whole bag using that fabric for the patches, too (haven't decided yet--the swap's not due until May so I have some other projects to work on first).

Now for the true confession.  The purchase (that I just made) that is truly more of a cheat than the fabric bought for the Teesha bag (even though I totally chose the Briar Rose print because I like it and will get any scraps--I can't deny it).  I saw this fabric and HAD to have it.  But because of the fast I needed to come up with a project for it, which wasn't tricky.


Frog and Toad!!!

I loved these books as a kid and. . .I'm fairly certain my hubby did, too.

So guess who's getting a Frog and Toad quilt!!

I decided to make a simple 9 patch quilt using the above print and this:


It's the plaid from the same collection.

To make it a bit more exciting, I also got the print in the green they offer.  So I'm planning to make alternating 9 patch blocks (blue, green, blue, green).  The print will be the dark color in the block and the plaid the light color (so 5 patches of the print, 4 of the plaid).  No sashing between the blocks.

For the border, I got the cookie print (in tan) from the same line.

I'm going to use 5 inch charms for the blocks, so it will be a big pattern that will (hopefully) sew up easily.  I've been dragging my feet on doing a quilt and I think this will be a good way to finally get me over my fear of doing a full quilt.

I'm planning to make a twin bed sized (or close) size.  Something big enough to cover up with when lazing about on the couch (which is what I'm planning to use this quilt for--it will be more attractive than the raggedy blankets we use now--though no silky edge, and I do love silky edge!).

For the back, I got this:


It's the panel from the same line.  I'm thinking I'll just make a scrappy back using some of the panel images and whatever fabric I have left over and maybe stuff from my stash.  I'm really leaving the back up in the air right now.

For the binding, I'm hoping to do it wrap around style (make the back larger then just wrap it over to make the binding) to make it easier.  I might even hand stitch the binding.

For the quilting, I'll probably just follow the patches and do a really basic quilting.

I'm also toying with using some of our income tax money to get a new machine that has a built in walking foot so I can start experimenting with free motion quilting (or just have better experiences with quilting with a regular foot--less shifting of layers).

So I had to do Quilt Math today and it was sad and slow (I'm such a math dunce) but I think I calculated correctly.  If anything, I'm worried I over bought.  But that could be a good thing should I mess up when cutting OR I'll have leftovers for the back.

But first things first.  I need to decide if I'm going to pre-wash the fabric or not.  I'm torn.  Should I also pre-wash the batting?  Does batting shrink that much?  I need to research that before I decide.

Here's hoping this goes well!

For Swaps (and Fluff Project): Bunnies and Pretzels.

I got quite a bit of sewing done Sunday (after a few days of doing absolutely nothing).

I finished up two swaps and made some progress on the latest Fluff Project items.

True confession, I poached one of the bunnies to use in a swap.  So that's why I got so much done in such a short span of time.  Shhh, don't tell!


*whispering*

"What is that?"
"Is it a. . ."


"Ewww, is it a poop!"


*sniffing*

"No, it's not a poop.  It smells like. . .a pretzel.  YUM!"


You are right, little bunny.  It's a pretzel.

*in unison*

"Mmm, we want a bite!"


I felt a bit guilty snagging one of the Fluff Project bunnies for a swap (ok, not that bad) so I made a pretzel to go with the bunny (and I'll make another bunny to replace the one I took).  Why, of all things, a pretzel?

Well (as you can see) I had some leftover fabric tube from the turd I made earlier in the week and I was making a pretzel for the April Unique Dotee swap.

THIS pretzel:


EEEEE!!!

How galldurn cute is that pretzel.  RIGHT?!

I realized as I was making the face what I was really doing, too.  I was making something I loved as a kid.  Or, rather, a version of something I loved as a kid.

I always loved Sesame Street.  In particular, the skit where an item would go on "Here is Your Life" (with your host Guy Smiley).  I really liked the food ones, like Loaf of Bread, Here is your Life.  (and I'm fairly certain there was a broccoli one, too).

So, I had (without actively trying) made a Sesame Street style pretzel, perfect for "Here is Your Life".


Pretzel. . .Here is your life!!

Once I realized that, it was VERY hard for me to let this little pretzel go.  But I know I can make another one if I want.  In fact, making the smaller pretzel for the bunny was kind of me proving to myself that I could make a second pretzel if I wanted.  I worry about that sometimes.  That I'll make a random item and then never be able to duplicate it.  So it's nice to prove to myself that I could duplicate some of my favorite items, like this pretzel.

This cutey is off to FINLAND!!  I'm so excited for him.  His life will really get exciting once he moves abroad!

Here's to a fun life, Pretzel!

(bunny and her pretzel are off to Ohio, which is fun too, but not as fun as Finland)

Tuesday, March 11, 2014

What a sh*tty post! (warning, potty humor ahead)

One more warning.  You are about to view some potty humor.  And the title isn't misleading.  This is a shitty post (oh, and I don't edit the curses out in the body of the post, just in the title).

Ok, so what's got me all working blue?

A regretsy forum swap.  The theme was "Multi Media Curse".  Yup.  It was a swap to make a curse word (or phrase) using whatever medium is your favorite.  So pretty finished hoops with curse words stitched on them or a little painting of genitals.  The only rule was "no slurs".

I didn't want to do an embroidery hoop (even though I do love curse hoops and hope that's what I get for my swap--though I'll like anything) so I played to my strengths.


 A pile of shit

+


A little flag that reads "Eat Me"

=


A fun way to tell someone to eat shit.

I don't know about you, but that expression is just REALLY nasty to me.  Gross and mean and really just tells someone what you think of them.

And, the little flag is rude all by itself.  (bonus!)

The poo pile was really easy to make (just like the real thing, huh?--oh, how I do love toilet humor!).  It's just a tube of fabric with a point at one end.  Turn it, stuff it, curl it up and sew it down.  POOP!

The funniest part was, I had two different fabrics that were poo-ish.  Both were really low nap faux fur but the one I went with had a bit of shine to it which I think added a more realistic touch (eewww!).

The flag is an upcycled piece of ribbon (the ribbon that comes on sheets or bundles of wash clothes) with embroidered words.  At first I tried making a paper flag but it was hideous.  Then I tried fabric maker (brown, of course) on the ribbon but the ribbon is such a loose weave I got bleeding even though the markers don't normally bleed that much.  Then I just sucked it up and embroidered onto it and it turned out very well (I was worried it wouldn't what with it being a loose weave and such a small item to stitch on).

Then I glued the ribbon around the pick (and to itself) but it wouldn't hold so I put stitches in it, too.  Along the pick and the edges.  That turned out to be a good call because it made the flag a big more rigid which looks better.

I'm very happy with how this turned out.  So happy, in fact, that I wanted to kick grass over it and then run around like a fool (or bury it with kitty litter!).

I tried to get a picture of my cats interacting with it but they were too fast.  Eugene did bite at the pick and it was hilarious but I was afraid he's ruin it so I had to give up on my photo shoot.

The best part is, I made a HUGE tube (since I was unsure how much I'd need since I didn't know how big a pile of poo I'd be making) so I could make more poo if I wanted.  And I kind of do want to.  Maybe my cats need some catnip poop?

For a swap AND Fluff Project Preview

See, this is why I wanted to break these posts up.  This next item was originally planned for the Fluff Project but once I had the practice one completed I decided to use it for a swap I was signed up for.

Ok, get to the pictures.


March Hare!!

Yup, I'm being silly for my next Fluff Project shipment and making March Hares.  It also ties in with Easter (which is just around the corner).


Look at that face.  How freaking cute is he, huh?

THAT freaking cute!

Technically this is my second stab at this pattern.  Oh, and the pattern is my take on Urban Threads' Giving Bunny (a free download but I didn't use it, I just took the idea and free handed my own version).  I found the Giving Bunny via Pinterest (not sure if it was the Hopeful Threads pinterest or some other one).

I just loved the simplicity of the Giving Bunny and wanted something fast to make for the Fluff Project.  And I wanted to use some fleece I had in my stash.  You see, I'm not a huge fan of sewing fleece so that means I need to work with it more so I can just get over my dislike of it.  These sew up fairly easily so maybe I'll be a fleece convert by the time it's all said and done.


The first version of this was a mess.  The body was ok (had a bit of wonky stitching but that's typical for a first go).  But I tried out machine stitching the eyes on and it was AWFUL mostly because I can't make a perfect circle with my machine stitches (hand stitches are actually neater!).  I think I'll take the practice bunny and stuff him and give him to my cats.  I think they'll like snuggling him (no scarf though, they'll tear that off and probably eat it!).

This first bunny also has "bad" eye stitching.  I did like a whip stitch on the eye (so the stitch goes over the edge of the eye) but it's better with a running stitch (where the stitch doesn't cross the edge of the eye).  This doesn't look BAD, but the running stitch looks better (doesn't make the wavy edge on the eye).

So far I have scarves cut for 8 bunnies (4 blue, 4 pink--just because that's the only colors I had).  I have four gray bunnies ready for the machine (that means the faces are all done and they're pinned together).  Then I just have to put the tails on (crap, I forgot to show the cute tail on the back).  Then I'm planning to make a few brown and a few white.  I'm not sure on the white yet, since I'll have to rethink the eyes (will white on white show up?  maybe I'll need to use off white for the eyes on the white or make bigger pupils or something).

So I think these really will stitch up nice.  I like that their fast/easy to make and they're small so they might appeal to older kids a bit more.  I also like how easy it is to switch up the expressions just by moving the pupils (and I can make the pupils any color I want, so I just grab a bit of floss out of the nest and use it--great scrap floss buster).

I'm hoping to get the whole Harey (see what I did there?) bunch out to the Fluff Project in time for Easter.

Swap Finished: Patch

I'm breaking this up into three posts because it's my blog and I want to.  But (non-sassy) I want to jabber a bit about the other two things (because they are worth it) but I don't want this patch getting short changed.

So, I finished this patch for a swap.

The theme was "summer":


Yup, pretty straight forward "summer" theme.  But I did it a little different than I usually do.


I did direct applique with the image.  No heat and bond used.  It worked out well, too.  I like the rough edges done with zig zag stitch.

I also did patchwork for the front and back (and left the raw edge visible on the front because it felt more sand-like that way).


I've wanted to do a patchwork back for a while and this patch was perfect for it.  It doesn't line up exactly on the front but I'm ok with that.

I also matched the floss to the fabric which is something I don't normally do.  Normally I just grab whatever's at the top of the floss nest and go for it.

This patch was mailed out today.  I hope it's well received.

Friday, March 7, 2014

Swaps completed: Dotee and Art Doll

I got two swap things done last night.

First up, the quicker of the two (did it all in an hour or so last night).

Flower Dotee:


Just a simple dotee.

The theme was "flower" so it had to have at least one flower on the body somewhere.  Either made from flower print fabric or adorned in some way.

I got that pretty flannel in another swap (earlier in the day) and I just liked it so much I had to use it right away.  It's really soft which I thought was nice for a flower theme.


Kawaii style face (which is kind of my thing).  Just a simple flower shape with some embroidery.


Bead flower details.

The stem is just embroidery (I just randomly stitched).  Then I put the beads on based on where I stopped with the stems.


It just kind of randomly worked out that I went large to small going down the stem.  I think it looks cute.

Super simple but very classic in style (with a little kawaii twist).

Next up, the art doll I've been working on for a few days now.

"Love" art doll:


The theme was "love".  So you could go with classic valentines/romantic love (reds/pinks/hearts/cupid) or any route you wanted as long as you could tie it to "love" in some way.

I didn't want to do another valentines themed doll (been there, done that with the zombie cupid) but I did want to have hearts.  Then I found this fabric in my stash (I think I just got this from one of my swaps) and it was perfect.  Printed with sparkly hearts (and "love") but not in the classic colors.

So I decided to go with a generic "love" theme and make a pattern I had been wanting to try (a pattern I got from another swap) and have the doll be a theme of "what I love" which is trying new patterns and sewing.

I knew what fabric I wanted and the pattern but the rest was just up in the air.  What was I going to embellish the doll with?

At first I was toying with cats (since I do love them) but the cats I usually make were too kawaii/cutesy for this more artsy doll.

Then I found some new ribbon at Target and one of them was just begging to be made into a crown.  So now I was heading in a fairy/pixie direction.  I was ok with that (but didn't want to do wings).  I was also fretting because the head was just plain UGLY.  I knew I needed a wig but was hemming and hawing about it (because the head is an odd shape).

So I went and checked out my yarn and low and behold I had the perfect yarn for a simple wig.  Frizzy yarns hide a multitude of sins when making wigs.


I just wrapped the yarn around my forearm (like you would wrap a cord up) and then tied it off in the center.  I stitched the "part" down to the head and then randomly stitched it to the head making sure it was spread out nicely to hide the scalp.

I had already decided to use the ribbons (trailing off the crown) before I made the wig so I decided to keep them but just put them randomly into the wig instead of as a train from the crown (since it was getting bulky at that spot on the head).

So now it was looking like a decent doll but there was something missing.

The legs are SO long and they just needed something.  Stitches or beads or something.


YES, beads.  Flower beads!

I thought about running them down each leg but then the anklet idea came up and it was definitely the right choice (wave to the cat hair there on the foot--that's a hair from my Olive, she's a devon rex so her hairs are little and bristly).


All said and done, I really like this doll.  I'm glad she doesn't have a face, too.  I think it adds to her "muse" feel.  That's what I'm calling her, a Muse Doll.  Very appropriate to have her posed near my sewing machine and crafting stuff.

I hope she's well received.

Monday, March 3, 2014

Hopeful Threads 2014 First Quarter Project: COMPLETE

Check it out.  I got this done EARLY and didn't even know it.  I was reviewing the guidelines for the first quarter project and it goes until March 31.  So I got it done EARLY.  *pelvic thrust*  OH YEAH!

Yup, I'm off to the post office here in about 15 minutes to mail off TWO packages to Kristy.

Why two?

Well, because I am dumb.  Hey, there's no way to split hairs.


See that there, I bought a BUNCH of stuff then realized it wouldn't fit all in the box I had chosen (I deliberately picked a flat rate priority box because the stuff is hefty).  DOH!  Oh, and it wasn't until I had already purchased the items that I realized I would have been further ahead to just make the pouches and include a gift card so Kristy could buy things locally and make my life easier (no having to lug that heavy arse box to the post office).  But we already established I am dumb.

But, lets be honest.  I liked doing the shopping and would have been sad to just throw a gift card out there.  Yes, I know it would have been more economical BUT. . .since I've been on a fabric fast I've been spending less on my hobbies so the money side of it wasn't an issue.  I also tell my spouse if he ever thinks I'm spending too much on anything (charity stuff, whatever) to just speak up.  He's not bothered by it so it's all good.  Oh, and I bought the stuff in small lots over a few weeks (with my regular grocery shopping) so it wasn't one big expense at once (and I got a lot of it on clearance or discounted in some way).  So really, the biggest cost (in my feeling) is the shipping BUT I refer back to the "fabric fast" to prove there are plenty of resources for one big shipping fee.  AND, since we're doing quarterly projects I'm not nickel and diming every month with smaller projects so I just save that up for one big shipment.  (note:  I don't include the Fluff Project in that--it has it's own budget, if you will).

OK, enough blathering about my spending habits.  Let's see the pouches.


Eight total.

Closeups?

Sure, why not!


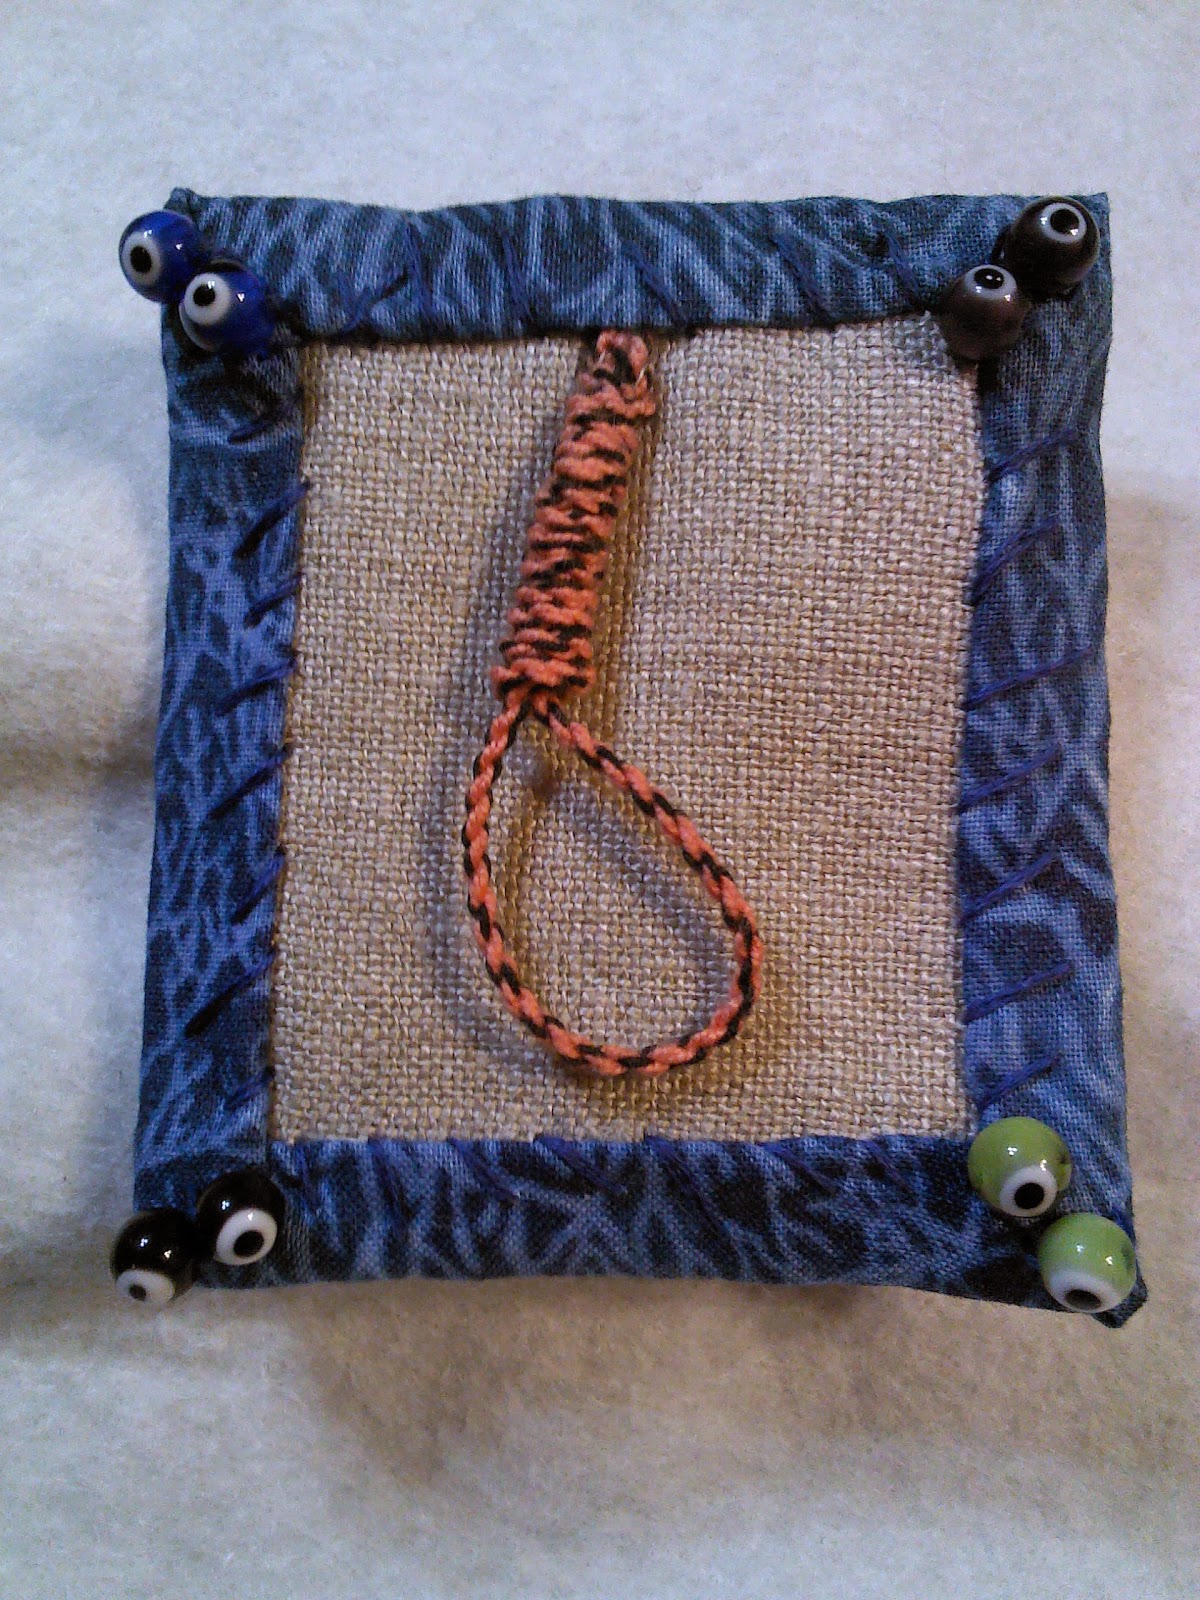
This one is just one of my favorites.  That fabric is just so cute and PERFECT for this.  It's also a cotton/linen blend so it's a bit more sturdy (I'm so lazy I just can't be bothered to make the pouches with webbing in them to make them more sturdy--just the thought of that extra step makes me want to not sew at all!).


Top one is the inside of the Simpsons bag.  Bottom is the inside of the toothpaste one.


Top:  inside of bright animals.  Bottom:  Inside of Lorax.


Both sides of the elephant one.  I just really like how well those colors worked together.  (the pic doesn't do it justice)


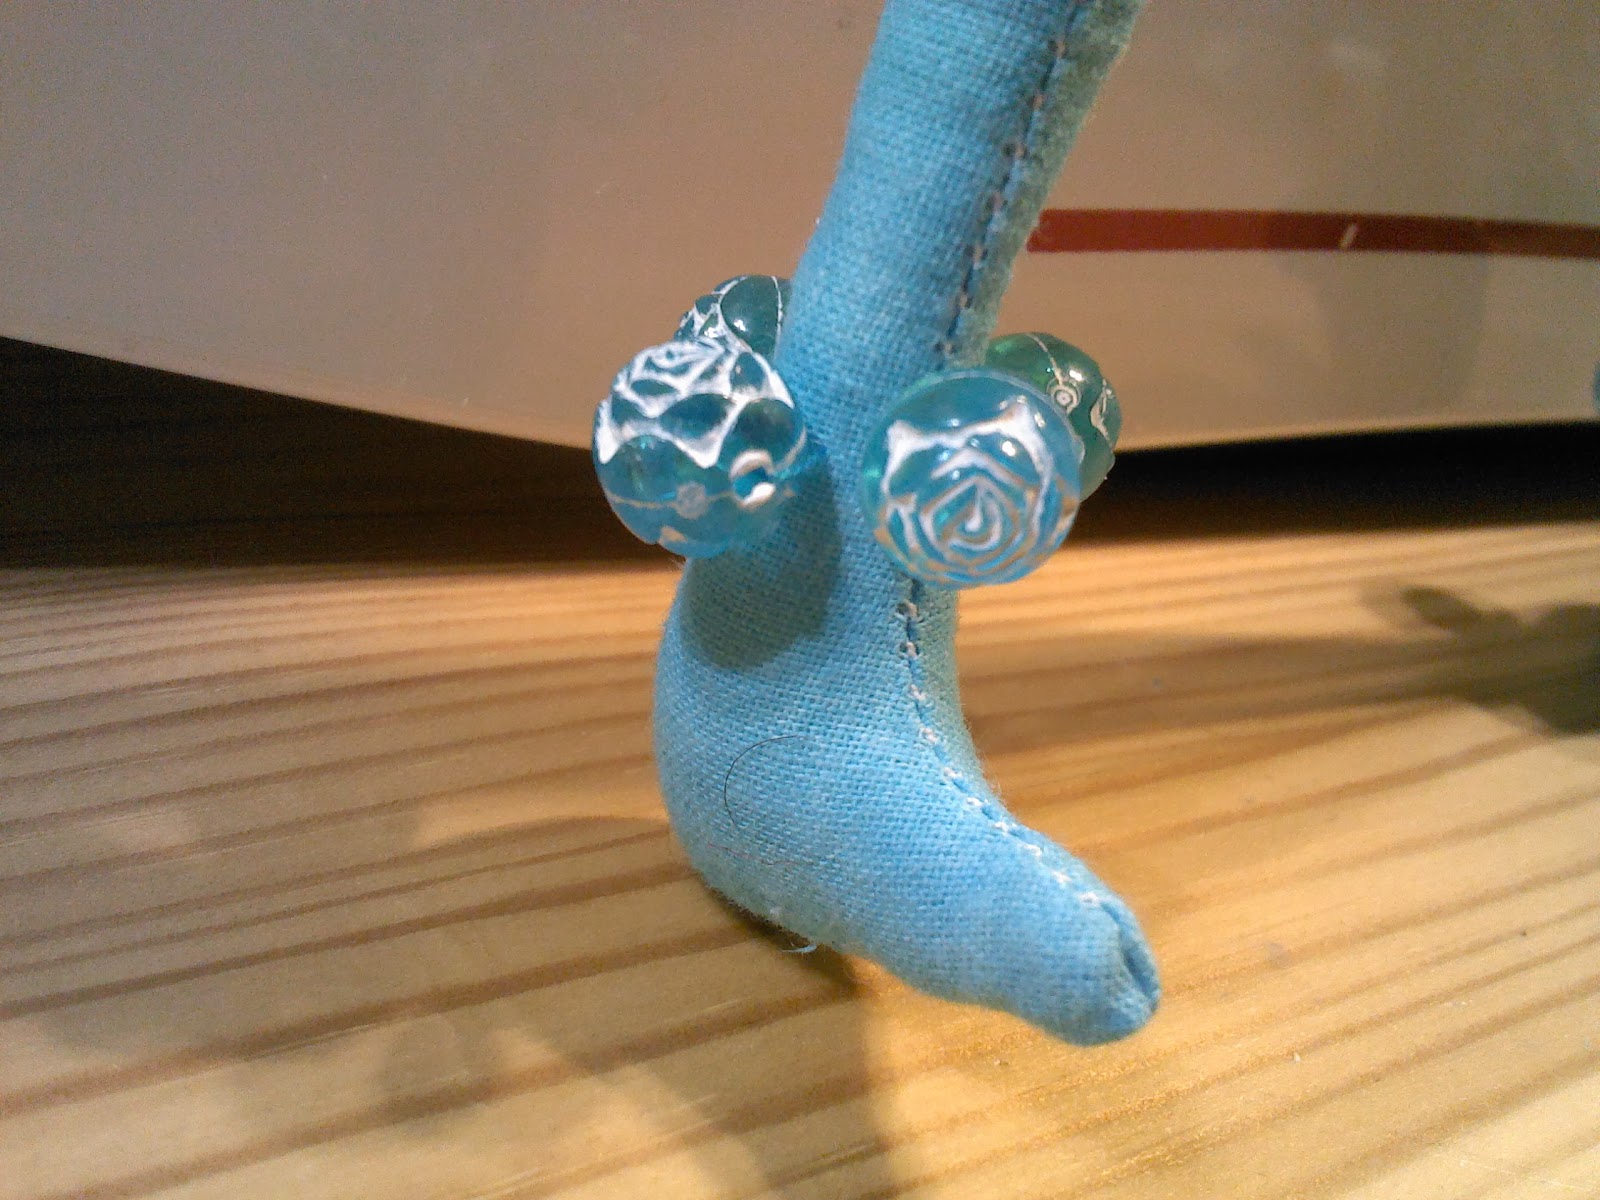
Top:  Inside of girls fabric.  Bottom:  inside of aqua/flowers pouch (some of the Hello Tokyo fabric--so pretty)

This one is, I think, my favorite of the bunch which totally surprises me.  I wasn't a huge fan of the fat quarters on their own (I got them in a mystery bundle) but paired together like this I think they're really fun and pretty.


After I had put the building fabric on the inside I thought it might have been even better to have done a mix and match with this one.  One of each print for the outside and inside.  But I really like how the inside looks like a wee city when you open the bag.

OH, and how cute is that little cat on the outside fabric.  All arching her back, being all sassy!  I love the details on that fabric.  It's a really nice quality fabric, too.

Ok, it's about time for me to trek over to the post office to rid myself of the packages.  Yes, I said "rid myself".  No joke, that box is HEAVY.  And, funniest of all, the pouches are one of the things I couldn't fit into it.  I took the pouches, socks, and a pack of disposable razors and put them into a plastic mailing envelope.  I figured it was best to put the least jabby items in the bag (and the lightest items).

Curious about what all is in the box?  Well, if memory serves there is (in groups of 8 or more):

--washcloth/body wash packets.  One washcloth and one mini body wash in an individual ziploc bag (4 boy scents, 4 girl scents--washcloths are all neutral)
--chapsticks
--toothbrushes
--toothbrush caps
--mini toothpaste
--mini shampoo (unisex)
--mini deoderant (4 boy, 4 girl)
--hair ties (one package)
--box tampons
--box pads
--two packs panty liners

I'm pretty sure that's enough stuff to meet all hygiene needs for boys and girls.  Well, except for shaving cream which I can't ship because it's under pressure (and on the "no no" list).

OK, time to trudge off to the post office.  I better get some cash on the way, just in case their debit machine is down (it goes down quite a bit and getting cash will insure it will be fine).