Tuesday, February 24, 2015

For Swaps!

Last but not least I have to show off some swaps.

SPOILER ALERT!!!

I just mailed these TODAY so if any of my swap partners happen to be checking out my blog I'm about to show some surprise items.

I know I show off my stuff a lot before it arrives to my partners but in this post I'll be showing the LBOE In a Bag swap which has an actual surprise item involved.  I mailed the box priority mail so it should get there fast (it's only going to Mass.) but I feel a warning is fair.

So I'll type it once more.

SPOILER ALERT!!!

(and I'll start with the non spoiler stuff)

First is just a single patch.

I made it puffy style using scraps from the cats I was sewing up.


Just a bit of free motion quilting and some embroidery.  I wanted the fabric to just speak for itself (because, as I've already noted, I love that freaking sushi fabric).

Next up is a dotee.


The theme (if you couldn't guess) was puzzle piece.  The doll had to be shaped like a puzzle piece.


How great is that button?  I'm totally obsessed with the Dress Me Up brand buttons.  They have the best funky designs (in fact, I have one that's and angler fish--an mother effing angler fish!  love that!)


He's pretty basic but very cute.  Little embroidered face and fancy dancy bow tie.  Oh and some cool chips for the tail (like gemstone chips?  not sure exactly, I got them because I liked them, not for what they were made of).

Ok, now for the reason for the spoiler alert.

This is for the LBOE: In a bag swap.

The swap requirements were to make (or buy) a nice bag and then put in two patches, a stuffie, and a profile based surprise.

Ok, so all the stuff didn't fit in the zipper pouch I made (using super cool Lorax fabric).

So I put the three little dolls (wrapped in a ton of bubble wrap) in the zipper pouch to make them more of a surprise.


The patches I already showed off.

Then I made a purple tiger (since I was already making a bunch of cats).


My swap partner likes purple and tigers so I thought this would go over well.  (and I wrapped him in some extra lorax fabric)

In fact, everything in this swap is profile based even though it didn't have to be (except for the surprise item).

I LOVED doing this swap.  In no small part because I love the folks I swap with.  The recipient of this swap I trade with all the time and I she always sends great stuff so it's a treat to make things for her.

So now I'm almost all caught up with my swaps.  I have one that's currently open and then the one I'm hosting will assign partners in about a week.  So it's probably time to check and see if there are any new swaps I can get mixed up in!

February Let's Book It: Project Completed!

Over the weekend I got my Let's Book It Challenge item done.

Holy crap, I've been sitting on this forever and the project was so stinking simple. . .yeah, I'm embarrassed by my procrastination.


I scored the Sock it to Me book at the discount book store for only $3.99.  WOOT!

It's full of funky stuff and I want to make every item in it but I decided to go with one of the easier projects (some required really long socks which I don't have and one really cool project requires fabric paint which I also don't have so. . .)


EEEK!!

Creepy clown ALERT!


Oh, I wasn't kidding, he's creepy.


SUPER CREEPY!!

But also cute.

Though I'm not thrilled with the lack of arms.  I was tempted to poach the arm pattern from one of the other projects to make this goofy fella some arms but I wanted to do the project as it's described in the book before I went altering it (though I did alter by using yarn for the hair instead of a nappy ass clown wig--though the clippings from the clown wig looked super cool).

This project was so damn easy and fun.  I was tempted to make a few more and to have a car full but I wanted to make sure I completed the challenge so I only made the one.

The problem I have with this book is not with the book but with me.  I love the projects but they're not the type of things I can give away to something like the Fluff Project once I make them.  I can only keep so many of the funky things I make so I might not get back to playing with this book for a while (well, maybe I'll dip back into it for a swap I'm hosting, but you get my point).

Funky clown is now hanging out on the shelves in my craft room.  He seems happy enough.

February Fluff Project: Items DONE!

Yesterday I had to burn a vacation day so that meant it was as Sew Day!

I had to get the Fluff Project items done first thing.

That lead to this pic:


Chain of limbs and tails!

That lead to (eventually). . .


Six kitties total.

Ok, so the yarn one was done weeks ago so it doesn't count as part of the group I finished yesterday.


This one might be my favorite of the group.  I LOVE the sushi fabric.  And I put teeth on that one.  I didn't put them on all the cats.

Each of the cats is different which was a blast.  I love picking out fabrics.

The pattern is from Dolls and Daydreams (the skeleton cat) and I reduced the size by 25% (so this is 75%).  The full size is rather big and since I have to ship these I try not to make really big items.  But if you're making the actual skeleton cat (it has a ton of appliqued felt bones no the limbs and such) you need it full size.  I love the skeleton cat but probably won't ever make another one because it's a lot of work (tedious cutting).

Pussy Parade!


After I made the yarn one (with no full felt face) I decided the embroidery is nicer on the full felt face.

And after I hand stitched one or two of them, I got some balls and decided to machine stitch them.  that lead to getting really bold and using a zig-zag stitch.  GASP, I'm using something other than a straight stitch!  Alert the media!


Cute as hell results, if I do say so myself.


I think they look equally cute with and without teeth.

I need to play with the pattern a bit and see if I can come up with an open eye style.  I like the closed eyes but an open eye would be super cute.  I think I'll go through some of my other patterns and maybe poach eye styles from them (the My Funny Buddy ghosts had good oval shaped eyes in a a variety of sizes).

But I won't be doing that any time soon.  I won't make any more kitties right away.  I already have the March items chosen and the test one is already cut out so. . .I'm super excited about them and can't wait to show them off.

But first I need to finish up with all my blog updates (oh, I'm not done yet)

February Sewing Goals: Accomplishments (and my cats!)

Wow, February went fast.

So, time to round up some of my sewing/quilting goals for the month.

(oh and warning, I'm bombing my blog today, lots of posts).

First up are a few things that were technically for swaps but since they are quilting related I'm filing them under "quilting goals" as well as swaps.


There was a run of basic 9 patch swaps. You made two blocks per swap and they had to be opposite patterns.  So these count as generic quilty practice.  (I also learned I need to get a bit more white/white fabrics, most of my white based fabrics were a bit strong in color for this swap and we couldn't use solid white).

Next up is an actual goal completion.

For February I wanted to complete another flimsy.  I wanted to use the fabric I won from the Pets on Quilts contest (over at Lilly Pad Quilting) last year to make a kind of in memorium quilt for Olive (she was featured on the mini quilt I used for my submission and sadly she died only one year after we adopted her and I miss the hell out her rat tailed ass. . .but I digress).

I won a jelly roll of Bali Pops batiks in the Lorikeet color variety.  Which was perfect to do a jelly roll race quilt top.  It seemed super easy and fast which is what I need since I'm still a beginner (and February was coming to a close so I needed to get my butt in gear).

I give you the Olive Green jelly roll race in memorium quilt top!


It's actually really pretty.  As I was stitching it up I was worried I was creating the world's fugliest flimsy but the colors really do go well with one another (it's a big brighter than the pic shows--it looks kind of pastel there but it's bright batiks).

Of course, the minute I stretched it over the couch. . .


Aww, Gene, sitting on you sissy's memorial quilt top.  *sigh*

But that beautiful moment was short lived when THIS happened.


THIS meaning Murray (the white blur in the foreground).  He burrowed up under the fabric and was proceeding to grab at it with his claws.  No, thou shall not claw the quilt top.  Hell, I almost destroyed a few of the strips when I was making it because I was having a mental breakdown and just COULD NOT figure out how to properly join the strips so the made the angle.  I kept getting a mitered style corner to my join and I had to go back and check the tutorial (Missouri Quilt youtube for the win!).  That was after I had a not so dignified hissy fit that was *this close* to ending in tears.  I blame it on the shitty weather lately (and my not wanting to fail at such an easy project).

I let the cats enjoy the quilt top (no claw!) for a bit before folding it up to store in the craft room.  One of my yearly goals is to complete a full quilt and this top is going to be my sacrificial lamb.  Since it's so basic in design, I should be able to do some basic free motion quilting (I'm thinking squiggly lines in the middle of each strip) and have it look ok.  But for now I'm sitting it aside.  I need to measure it and trim it up a bit then decide what fabric to use for the back.  But I have time to get that done.

For the record, the jelly roll race quilt top is easy if you're not being dumb as a rock and get the angled join figured out immediately (it was easy once I got it right, it was just figuring out what I was doing wrong that about made me crazy).  Just make sure to wind a few bobbins before hand.  I went through two full ones (almost three).


Monday, February 9, 2015

PATCHES!!!

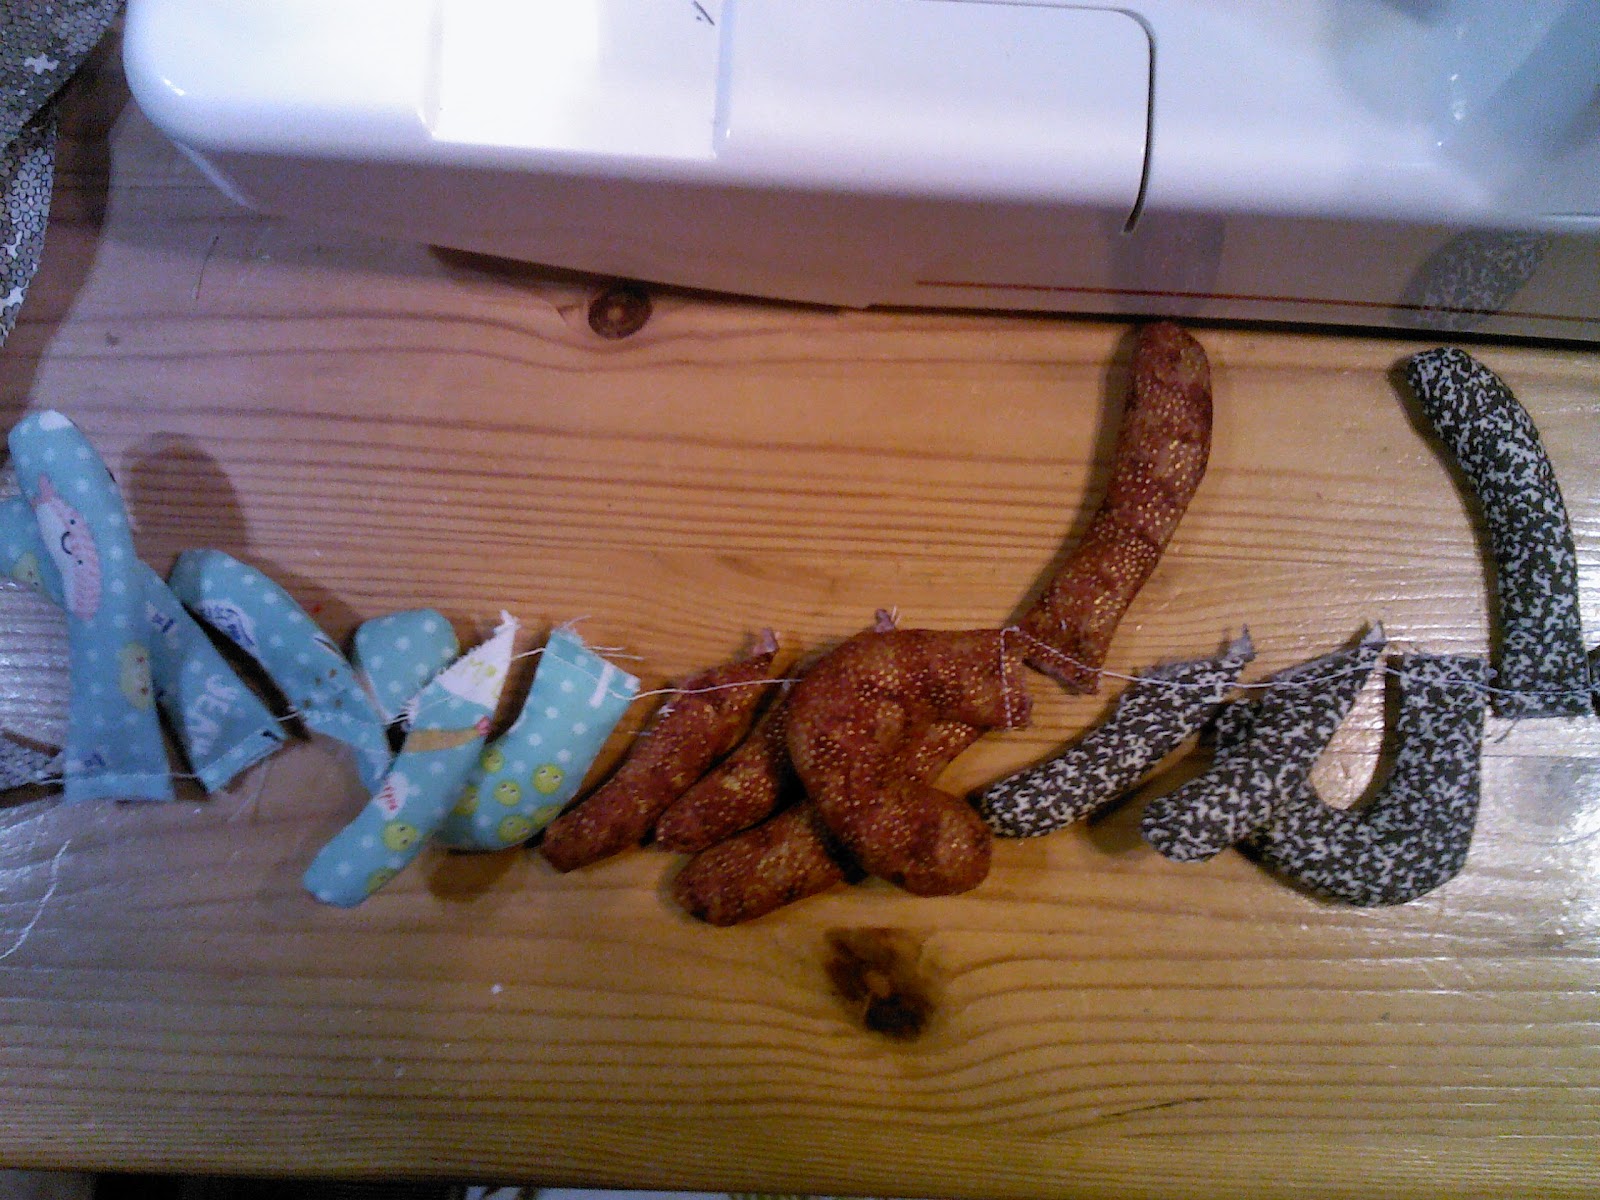
I made a butt load of patches.

Lets now ooh and ahh over them (while I do my best Stewart "look what I can do!")

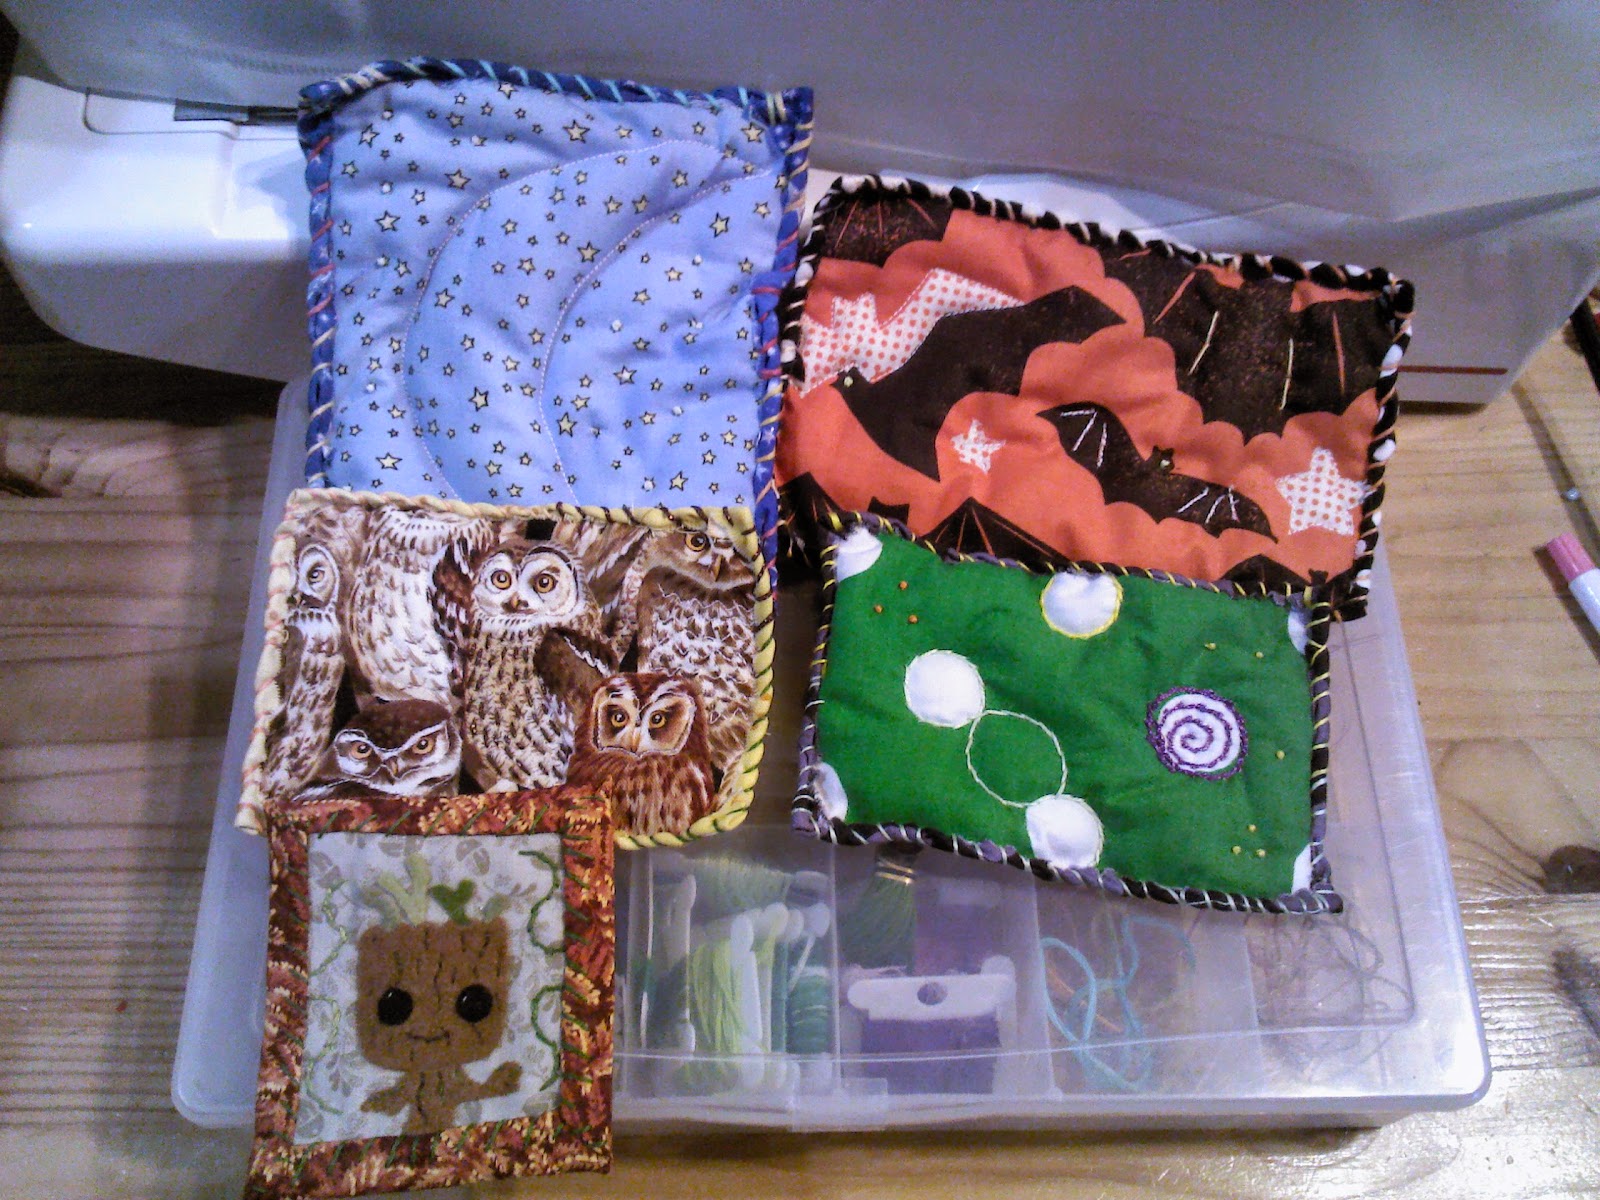
These patches represent two finished swaps and one swap in progress.  I hesitated for all of one second posting the "in progress" post because I didn't want to spoil it for my swap partner but there is a "surprise" item in the swap that I promise not to show or talk any more about so they won't be totally spoiled.

First up, the finished swaps.

2x and 3x patches.


That's the whole lot.  The ones on the left are the 3x set which we shall examine in painful detail now.


Night sky patch.

My partner mentioned liking the night sky so out came my star fabrics.  I free motion stitched a (rather fugly) moon on there.  Then I added some french knots over a few of the stars using glow in the dark floss.  I was tempted to use some of my glittery floss on the moon but I had already used that on another patch in this set so I opted to let the moon just be.


The moon almost looks better from the back.  You can see it better.  The stars on the back fabric are glittery.

Both the patches in this set are "puffy style" which is more in keeping with the real Teesha Moore style.  I like the looks of that style but I'm uptight so having all that exposed stitching makes me twitch.  Not the machine quilting stitches, but the hand stitching.  I was going nutty trying to figure out how to hide some of the stitching for the french knots.  I just could NOT tie off each and every one of them,  Tedious as hell, right there.  So I fed the floss between the layers for my travelling.  That's a big reason I hate showing my work (so to speak) because I'm lazy and like to travel and leave a big ass mess on the back of projects.  This back is really freaking neat, considering the style.


My partner also likes owls so this patch was simple.  I free motion stitched around the faces and did a bit of free motion zig zagging on a few of the bodies.  Then I used some shiney floss to stitch on the individual feathers on the chest of the middle owl.  It's a chocolate color and looks really nice.


Note how I was careful not to have too many long ass travelling stitches.  I plotted and planned my stitching to avoid it.  So this back isn't heinous (but the quilted stitching is a bit fug).

Last but not least, the "best" of this set.  Only in quotes because I don't dislike the other two but this patch is so freaking fabulous I'm all like "hell yeah, I made that.  Suck it!"  (because I'm modest like that).


Baby Groot!!

How freaking excited was I to see my partner noted she loved baby Groot?  I mean, who doesn't love baby Groot?  (ok, folks who've never seen Guardians of the Galaxy would be very "meh" but pfft to them, they need to see the movie and squee at the adorableness that is baby Groot)


Oooh, come here you cutey so I can pinch your little cheeks!

My baby Groot is based on the POP! toys.  I have the dancing Groot one (which is a bobble head) so I traced the pic of him on the side of the box to make my pattern.  Cut, glue, stitch and BAM, baby Groot in the HOUSE!

I'm particularly pleased with the stitching and the little new growth on his head.  That new growth is total free hand snipping of little scrap bits of felt.  See, now I feel justified in keeping just about every tiny trimming of my good felt (good felt is wool blend, I don't keep any wee scraps of crappy acrylic felt--I actively dislike it for anything other than filling for "flat style" patches).


The back.  It goes very well with him I think.

Next up, the 2x patch swap.


Different partner.  She liked bats so she got bats.  Bats with glowing eyes, thank you very much.

Super simple patch, really, but cute.


The back.  The puffy style ones get all curled up like that on the edges.  I really like that about them.

Last but not least (for this swap) was a totally random patch.


My partner listed green and purple as favorite colors so I just used that as the theme.  All the stitching is by hand which was fun.  I haven't done a lot of needle work lately and I was stem stitching like a mad woman.  I even trotted out the shiny floss (which is a pain in the butt to work with but totally worth it--apparently you're really supposed to just use a few strings of it to enhance a project not totally stitch with it but I'm a rebel without a clue so I do what I do).


The back of this one is super lumpy.  But not too bad with travelling stitches.  (I did the hiding thing for the french knots--that really works well).

Next up are the two patches for the in progress swap.  That swap has a lot of elements to it (I have to make a bag and a plushie and add the surprise item before it's done).

I was in a patch mood so I whipped out all the patches I had on my to do list at one time.


They're both flat style because that works better for the ideas I had and I know my swap partner pretty well and she makes flat style so I think she probably prefers flat style.

She likes Big Bang Theory and hedgehogs (really?  who would have guessed?!)


Soft kitty patch using some of the left over BBT fabric I have.


The kitty is cashmere!  Soft kitty, indeed!  She does have a mouth but it's gray so doesn't stand out very well.  She also has defined front paws (kind of curled up under her) but again, dark gray floss on dark gray cashmere doesn't have a lot of contrast.


The back.  I'm almost out of this print.  I'm not sure I'll buy more of it.  Maybe if I was making an order and wanted to round it out I'd get a bit more.  I like the "bazinga" print better than the character image print.  And I don't make a ton of BBT themed things so I don't really NEED any more of it.

And last but certainly not least. . .


Hedgie patch.

How cute is that button?  Wait, it needs a closeup.


I love these kinds of buttons.  LOVE THEM.  This hedgie was in a back of other woodland animals (owl, deer, skunk, a few others).  I had to buy the pack to get the hedgie.  I'm excited to find a use for the skunk, too.  I'm thinking maybe some glow in the dark floss to make like it's spraying?  But I digress.

This is a fairly simple patch.  Just some embroidery on the image and a cute button.  I even put some sewing thread embroidery on that wee little flamingo at the top.  I love thread embroidery.  It looks so neat when it's done.


Aaaaand, the back.  Same fabric as the front on baby Groot.  That's a really cute print that I've almost used up.  Scrap busting for the WIN.

What else am I up to?  Well, I started on the February Five for Fluff set.  I'm very pleased with the result but I'm not going to show that off until all five items are done.

Then I want to get to work on my Book It Challenge item.  I've had the stuff sitting since shortly after I got the book so I just need to whip up a project (or two).


2015 Quilty Goals: New block practice

There's some debate (in my own mind) as to whether I did this block correctly.  I re-watched the tutorial and I swear I did it right BUT I looked at another tutorial (provided on the swap I thought I was going to do but then dropped because I wasn't sure I did the blocks correctly) and it looked different.

Eh, here's what I got:


I made them in the colors the swap specified (thinking I was going to use them, before I chickened out).

Clearly one is a bit crooked.  I'm not sure if that's a sewing error or pressing error or a bit of both.  (that's the block there on the right)


Closer look to examine.

See, the debate is over that wee little four patch in the middle.  On the Missouri Quilt Co tutorial, they only give the middle bit one quarter turn so you get the white going diagonal down the whole patch and the color diagonal in the other direction.  But on one of the other tutorials (that I'm too lazy to look up now) they have it turned more.  I think they said 180 degrees which would be two quarter turns (if my math is right, which it frequently is NOT).  So in the example block above, that would mean you don't have color flowing diagonally.  For the center you'd have the grape print next to the two other purples and the whites as a band.  But in the one tutorial they also did the flipping differently so maybe that's the problem?

I really think the Missouri Quilt Co tutorial was the easiest and made sense for the seams, too.  The way they have you turn the middle bit, your seams fit nicely together.

Either way, I didn't feel like making more because they are a bit fussy.  Not hard, exactly, but fussy.  They remind me just a bit of paper piecing which isn't my bag (there are a lot of seams on the back so it's kind of bulky).

I did do well in matching my points on both.  The one just has that crookedy part to it.

I didn't bother to trim them down at all.  I think I'll just add them to my miscellaneous block pile and use them to practice free motion quilting.

Speaking of, I got a bit more of that done this weekend, too.  You'll see that in the next post when I show off the patches I made.

Ok, off to the next post, shall we?

Friday, February 6, 2015

For a Swap: Kawaii Stuffie: Cutest Jellyfish EVER!


I'm not speaking out of turn, now am I?  Is that not the. cutest. jellyfish. ever?

Of course it is!

And so damn easy to make I almost feel like I'm cheating.

I found the pattern/tutorial on Crafster .

I had a basic idea how to make it (using the trims for the tentacles and all that) but I was hemming and hawing about how to make the head part.  The Crafster tutorial solved that problem.


The head part is just one big circle and one slightly smaller circle.  Attach the tentacles to the smaller circle by cris-crossing them and then hiding the area where they intersect with another (much smaller) circle.  I used a zig zag stitch since I was working with fleece and it's all stretchy.

Then ball the tentacles up (to keep them out of the way) and attach the smaller circle to the larger making sure NOT to match the edges perfectly (and keep fabrics right sides out--so no turning for this project).  The larger circle should be a good inch or two bigger than the smaller so when you join them the larger circle makes the puffed up "head" (and the edges can ripple).


Then add the safety eyes making sure to put a bit of scrap fleece between the main fabric and the washer you push over the eye's shank.  Those washers have tiny teeth and if you don't put a buffer bit of scrap fabric between the washer and the main fabric, the teeth like to poke through.  And you run the risk of the washer setting too tight and then you can see it around the eye and it looks crappy.

Stuff it medium full (not super full but enough so the head is puffy) and then machine stitch the opening closed.  Again, I used a zig zag for all the stitching (and a ball point needle).

Then just add a quick embroidery stitch mouth (hiding your knots down in the tentacle area--that was really the hardest part of the whole project because I kept getting the needle and floss caught up in the trims and it was a beast to shove through).

The whole project took less than an hour.

Tips:  Use drinking glasses to make circles.  I used a margarita glass for the big circle and a tumbler sized glass for the slightly smaller one.

OH and the best tip.  Check out Pat Catan's (craft store) for the trim.  They sell these great mixed lot little bags that have 10 different 12 inch pieces of trim in them for $1.  They were the perfect length and there was a ton of variety so the tentacles have a lot of personality.  They sell all white packs and rainbow packs (and I think there was another, maybe black/white).  Great way to buy trim when you only need a bit.