Thursday, February 18, 2016

Couponing for Charity: Super Score!

Something new I'm going to show off from time to time.

I like to try and spend some money each month (or pool it) on things I can donate to charity.  It fulfills my desire to hunt for good deals and my desire to just buy stuff (you know, sometimes you just want to buy something!) but it keeps me focused and I have an outlet for what I buy.

I have a futon in my workout room that I store it all on and when the futon gets full I make a donation.  Usually that takes a while since I really only focus on a few categories.

I like to buy more non-grocery items like school supplies, laundry soap, paper products, and HBA products.  (I also buy some toys and hats/socks/gloves).  Oh, and I buy pet food, too, but I don't store that on the futon (that is stored in my kitchen).  I have outlets for all of these categories so I'll never run into a hoarding situation.

SO. . .true confession time. . .my favorite deals to find are on feminine hygiene products.  That shit is so crazy expensive and when I can get it for pennies on the dollar it gives me JOY.  (another true confession, I had a hysterectomy years ago, so I don't even use the damn things anymore so it's ALL for charity).

I hit the MOTHER LOAD of fem hygiene last weekend.


That there is SIX boxes (three tampon, two pad, one liner).

How much did I pay (out of pocket)?

$3.64

YES, you read that right.  I only had to produce $3.64 to take that all from Target.

How did I accomplish such a marvelous act?

First, I had really good coupons.  $2 off of EACH of the U by Kotex items.  $3 off of EACH of the Playtex items.  THEN, I had Cartwheel which took 20% off each of the black box U by Kotex.

So in discounts I saved $17.80.

(the Playtex items were $3.99 each, the white box was $5.49, and the black boxes were $6.99. . .none were on sale at all, those are full retail prices.  Full retail cost would have been:  $31.44)

$31.44 - 17.80 = 13.64

THEN, I paid using $10 in gift cards I received about a month ago.  I got the gift cards for buying cat food and cat litter, both of which were the brands my cats use (so I count those kinds of gift cards as truly "found" money).

SO, I only had to come up with $3.64 cash to pay for my fem hygiene.  That's only 60 cents per box!

AND. . .AND. . . Target was doing one of their "buy three, get a $5 gift card" on the U by Kotex branded items so I have a $5 gift card to use some other time.

I love the Target gift card racket.  I get them all the time from pet items and then I use them to buy charity stuff.

And in that same trip I gathered up some clearance kids hats (2 pack for $3.50) and women's stretch gloves ($1.75 each).  I hope those all get marked down again so I can grab up some more for even less.

For a swap: Disney Patches T, U, and V

Just mailed these out today so time to show them off while I have a minute.

The Disney patch swap is winding down.  This is the second to the last round.


T, U, and V!


T is for Timon.

I knew from the very beginning of this swap series that T would be Timon.  I did him with crayon tinting and embroidery.


U is for Under the Sea.  Yes, that earworm of a song from The Little Mermaid.  I thought about doing Ursula the sea witch but that would have meant another crayon tinted patch (most likely) and I wasn't into doing a full set of crayon tinted patches.  The fish on the right has a bit of a derpy Flounder face, too, so it worked well.  I used ric rac and some eyelash yarn to make the seaweed.  The background fabric is this great hand dyed (or maybe it just really looks hand dyed) fabric I got in one of my many scrap pack purchases.


V is for Violet (from The Incredibles).

I hemmed and hawed on this patch.  At first I was thinking I'd do a generic "villains" patch with some representational images of different villains.  I was going to try and avoid any villains I already did, so I was thinking about having an eye with a scar over it (Scar), some tentacles (Ursula), or maybe some wild hair (Hades).  But it just wasn't working for me so I went with the "easier" choice of Violet.

She's crayon tinted (no embroidery) and I put a piece of plastic over the top of the patch to make it look like she's putting up a force field.  I deliberately avoided putting embroidery on it because I wanted the whole patch to have a warped look to it (to add to the force field look).  (the plastic is cut from the packaging on my new ironing board cover. . .a cover I haven't yet put on my board because I am lazy).


And the backs of the whole set.

Of course I picked through my stash to find matchy-matchy fabrics and I pulled it off pretty well.  Bugs for Timon ("ooh, the little cream filled ones"), a mermaid for Under the Sea, and violet color for Violet (I put the stripes vertically to mimic her straight hair).

I think my partner will like them.  I've sent so many patches to her for this round it's CRAZY.  I wonder what she'll do with them?

Friday, February 5, 2016

For Swaps: Patches Galore!

Damn, I've been busy at work lately so I haven't posted my latest finishes.  One set of these patches I've had waiting to post for over a week!

Blah, blah, on to the patches.

First up are the latest batch of Disney patches.


Letters P, Q, R, and S.

P is for:


Pongo and Perdita.

This picture doesn't really capture the detail well since it's white embroidery on white fabric.  I outlined the dogs in white embroidery and the embroidered their collars.  Their black markings (and pupils) are heat set fabric marker.

Q is for:


Queen of Hearts.

I didn't want to use the actual Queen of Hearts from the Alice in Wonderland because I don't care for her so much (and I didn't want to do all crayon tinted patches for this set).  I was in the mood to do a more free-form type patch so a heart with a crown on it for the win.  The heart is wool blend felt applique (lightly stuffed).  The crown is just some trim I get at Target (of all places!).  Super simple but really cute (I think so at least).

R is for:


Roz.

It's been a while since I've seen Monster's Inc. but how could I forget Roz.  She just might be my spirit animal (we do have a similar physique and attraction to cardigans).

Roz is crayon tinting with some embroidery in spots.


Her face has the most embroidery, done with double and single strands and a few well placed french knots (I'm quite fond of her french knot mole)

S is for:


Stitch!

From the start of this series there were certain letters I knew would be certain characters.  S was either going to be Si (but since I did Am for A, I didn't need to make another siamese cat) or Stitch.

Stitch is crayon tinting with some embroidery and heat set black fabric marker (for his eyes, to get a real pop of color).


I did his mouth bits in embroidery to give a little bit of texture and to really secure the top of the patch to the batting center.  It also helped make his teeth pop a bit, since they are white on a cream background.

The backs:


Even if you couldn't see the frames on the fronts, you can pretty much guess what back goes with what front.  I LOVE being able to include the backing/frame fabric into the theme (for theme patches).  It goes with preferring the flat style patches (to make) over the puffy.  I like the neatness of flat patches that are all theme-y.  (ok, not always, but for theme sets like this I love it so much to get them all "perfect").

Next up, something very far from "perfect".

This pair are for an Anything Goes patch swap so in the spirit of anything goes I tried to puffy style patches (aka more like Teesha Moore's actual style).  I don't dislike making this style but most of the folks I swap with prefer flat style and I like being able to be super neat and tidy when making flat style so flat has become my go-to style.

I digress.

Patches:


I will admit, I love the warped edges of the puffy style patches.  It's fun when you're making them to see exactly how the fabric decides to curl and fold.  The only thing I make sure to have happen on the puffy style edges is I catch the corners on both sides (meaning I do a stitch on the long side and then make sure the next stitch is on the top. . .so the corn is nice and secured).  And I don't fold the corners or try to mitre them at all.  Just make sure I catch the fold two times.  Oh, I do try to make sure the backing fabric is dominant on the roll over, too. So I will trim back the top fabric if it's wider than the back (so it usually doesn't show through when the curl happens to make the edge).


Close up of that weird snarly looking thing on the patch.


It's a cut out.  I was obsessed with doing this again on a puffy patch so I did it with these circle.  It looks better in person.  I did some free motion stitching along the rings (every other ring) the cut out between them and re-attached the center with two little stitches.  It works but it could have worked better.  But I'm pleased with it since it's supposed to be a really scrappy patch.  Then I just added some beads and a bit of embroidery to get some puff to the patch.


This patch I really like.  I was in a beading mood.  Can you tell?


I did some free motion quilting on some of the fish fins then added beads to the bodies of the two main fish.  SUPER simple.

I used actual pearl cotton for the edges.  Usually I use three strand embroidery floss but someone sent me a thing of pearl cotton so why not try it out.  It's an anything goes patch swap so go crazy.

And. . .the backs:


I like how the backs actually have a look to them even though you're just "seeing the work".  I never want it to seem like I don't like puffy style patches.  I love them (making and receiving) but the up tight side of me just really likes keeping the backs of my patches clean (don't "show your work").  It's like a challenge to me to show as little work as possible.  So when I do puffy style I make sure to really show my work.  It's just a weird thing with me, eh, whatever.

What's up next?

I have a Junker Jane doll swap, a Teesha Bag swap (minions, YES!), and a cool "mystery fabric" swap where you have to use the piece of fabric you're given in the item you make.  That one is still stumping me but I know I'll come up with something good.

I'm also getting some Fluff sewing going.  A night ago I cut out TWENTY items.  Ok, they were super easy "baby" toys (meaning they won't have fancy faces or applique or any of that) but TWENTY items is kick ass.  I'm making ponies and puppies (simple pillow style, no detail ones that are super baby safe, hence my calling them "baby toys").  I also need to clean up some WIP Fluff items and the stuff I never made the assorted Bratlings (aka my hubby's nephews and niece).

Monday, January 4, 2016

2016 Fluff Project: Goals and January's offerings.

Holy crap, y'all.  It's 2016 which means it's time to set new charity sewing goals (and generic creative goals but that might be a separate post, not sure yet).

But first, let's do the 2015 Grand total.

The goal was 5 items per month (sometimes not exactly completed in the exact month but the average needed to be 5/month).

SO, the goal was 60 items for the year.

MY GRAND TOTAL FOR 2015:  68!

WOOT!  I came in OVER goal.

Ok, not by a ton but still over.

And I also managed to give 35 items to Mirabel.  So that makes my total charity stuffed toy contribution for 2015:

103 stuffies

HOLY CRAP, I made over 100 stuffed toys for charity in 2015.

*takes a bow*

Yeah, I'm totally bragging that up a bit.

Ok, bragging is over.  Time to focus on 2016.

Once again I'm going to aim for a minimum of 5 Fluff items/month.  But I'm also going to sew for Mirabel as much as possible (in hopes Spoonflower does a collection again, if not then those can go to Fluff, so I'm not out anything).  For Mirabel I'd like to do 40 items total (or more).  So I need to get sewing!

Check it out, I'm AHEAD on my Fluff goals.  I have January technically done with these:


EWOKS!

Pause for one moment.

Not all of these are for charity.  Three went to my hubby's nephew, aka The Bratling.  But that leaves 7 for charity (so 5 for Fluff and 2 for Mirabel!).

I don't remember what three went to The Bratling but I'm fairly sure they were all ones with safety eyes (I find them cuter and thought he would like them better).

Close up time!


The stitched face ones are still cute but those safety eyes. . .yeah, I don't think I'll be making stitched eye ones ever again.  The only reason where were stitched eye ones this time was I forgot to put safety eyes on a few of them before I sewed them together and putting eyes on them after that is just too much fuss.  So they got stitched faces.

The gray and dark brown are flannel, the light brown is corduroy.  I love using corduroy for these.  All the cowls are all wool blend felt with blanket stitching.

Want the pattern?  Get it here.

What's next?  Well, I have the whole month of January to get more items made and I have some in progress gingerbread men so I guess I should get them done (those will be for Fluff most likely, though there is a pair so I could split them up).

First I need to get the rest of my christmas sewing done.  We didn't end up meeting with the in-laws so I didn't need to get all the assorted things for the kiddos done, so I got lazy.  I have a kitty (for The She-Brat) and a super baby friendly pony for the Wee Brat (that's the infant brother of The Bratling).  They're all cut and ready to assemble.

2015 Final Projects: Swaps, stuffie, etc

One post to show off all the bits and pieces I finished up in the last week of 2015.

First up, the guinea pigs I made for my friend's kids.


Ernestine and Bertram

Get the pattern HERE.  Do it, it's totally worth the few bucks (Jodie's patterns are great stuff).

Next up a pair of swaps.

First is an inspiration tree.  You had to make a tree shaped pillow stuffie and decorate it using your partners prompt word.  My partner had "peace" (as in peace and quiet) as her prompt.


I went with calm and soothing images that you would enjoy during a peaceful/quiet moment.  So the trunk is book print fabric.  One side of the top is coffee, chocolate, and "shhh".


The other side had cookies (yes, I know you shouldn't use food to soothe yourself but a cookie would probably go nicely with the coffee and treats aren't all bad).  Since there wasn't a lot of embellishment on this piece, I added "relax".

I'm worried this tree didn't hit the mark, though I like it.  I let the fabric to the work and that feels a bit like cheating but is it?  No, not it is not.  (hey, even with creative endeavors, work smart not hard!)

Last but not least was a One Tiny Thing (profile based) swap.

My partner likes minions so. . .this happened.


Yes, those are minions on a little banana headed child.  It's weird and I love it.

LOVE IT!


Little banana beads (with leaves) along the edges, too.

The beads are all courtesy of my sister.  The minions were on a bracelet (for kids, from the dollar area at Target) and the bananas/leaves were from a beaded handmade plant hanger she scored at The World's Longest Yard Sale (she went over the summer but I couldn't join. . .she got me some great stuff and I'm all about going this summer, already planning it!).  I had to give the fruit beads a good scrubbing (they had a nice layer of dust on them) but the minimal effort was totally worth it.  Now I have a little dish full of all kinds of different fruits and a mess of leaves (I tossed the generic white plastic filler beads, they were ugly and just needed to go bye-bye).

And the back:


I'm so uptight that I just LOVE when I can keep the theme going on the back fabric.  It gives me JOY I tells ya, JOY!

Along with getting these items wrapped up, I started on my charity sewing.  That's in the next post.

Tuesday, December 8, 2015

For Swaps: Patches and a doll

Got two swaps out to the post office this morning.

First up is an art doll swap.  The theme was fall/winter/christmas.


I just could NOT figure out what I wanted to do for this. Correction.  I thought I wanted to do one thing (a mushroom person thing) but it just didn't do it for me.  I was bored with the idea from the start.  Then all the sudden I wanted to make Krampus.  But that didn't seem like something my recipient would be into (even though it's not a profile specific swap).

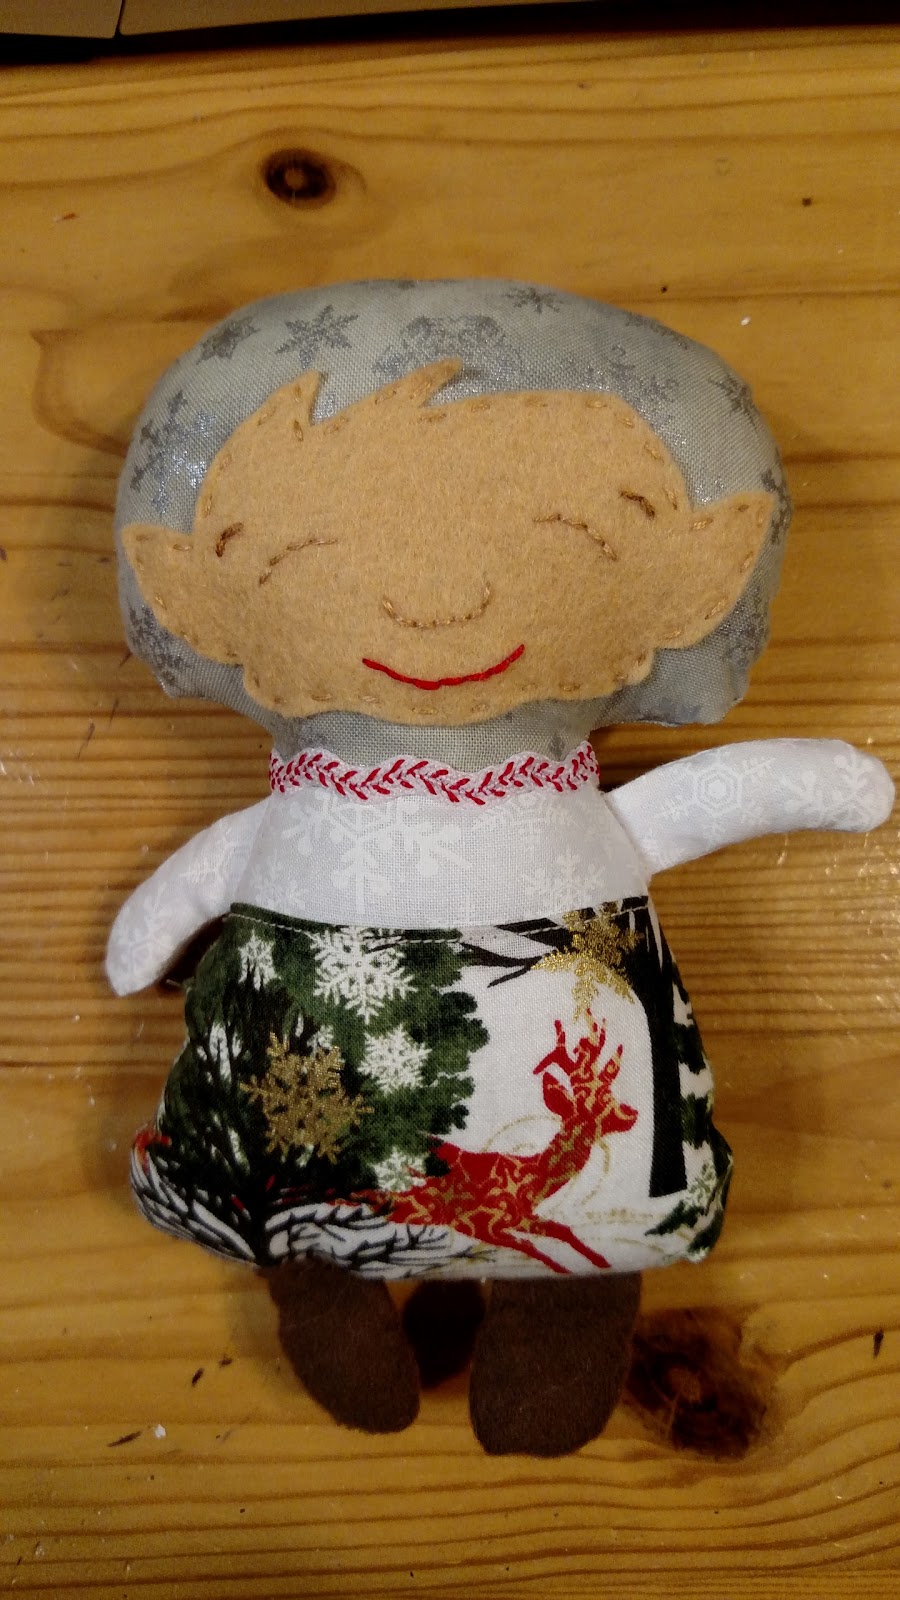
My partner liked bright fun colors and "whimsy".  So I went out on a limb and decided to try out a new Dolls and Daydreams pattern I grabbed up during the last sale.  It's the 7 dwarfs/elf pattern that has a TON of options for customization.

I dug up some of my brightest/most fun christmas/winter prints so it would be lively and bright (my partner's profile specifically noted they don't like drab fabrics).

But it still felt less art doll-ish than I normally make.  For me, "art dolls" need to be less kid safe then a regular stuffed toy which means I need to put a bit more work into adding extras to them (or they need to just straight up NOT be a toy, like the painted doll I did for halloween. . .that's so not a toy for kids to maul).


So I had some fun with his hat.

Elroy Elf is headed off to his company party and hopes to win the Ugly Hat contest.  (what?  ugly sweaters are SO over, like five years ago!).  He even has his white elephant gift which he hopes goes over well (jokes on everyone, it's just a piece of styrofoam wrapped in fancy paper!)


That hat is tacky on BOTH sides.

Good luck, Elroy!

I hope this is well received since it's not as hard core "only adults may touch this because it's just so NOT for kids" art doll but it's still very "artsy".  It's well made and meets the size requirements so there's really no way I won't get a full rating but I just don't want to disappoint my swap partner (though if someone made this for me I'd be thrilled, it's cute as shit as far as I'm concerned).

Next up are the latest set of patches for the Disney alphabet swap.


M, N, and O

Closeup time!


M is for Mickey Mouse.  I knew I wouldn't get through this swap without making the classic Disney mouse ears design (and I welcomed it since it would be an easy yet good looking patch).  I stuck with Mickey's color scheme, too.  Red, yellow, and white.  (no back shot for this since it's just solid yellow).  This was a super easy patch but it still looks good (simple doesn't have to mean you're cheating your swap partner, sometimes simple works).


N is for Nightmare Before Christmas.

Holy crap, looking at this pic this patch turned out really great (that's not to say it's hideous in person, just that it's photogenic considering it wasn't that hard to make).  I went with a simplified version of the graveyard scene (which I think is also the cover art for the movie, except it has Jack on the little curly thing).

Detail shot!


Oh, yes I did.  I cut that little curly cue right out of felt and it wasn't that hard at all.  The curly and the moon are felt glued to cotton fabric.  The grave stones are felt, glued and stitched down (the one against the purple is just glued, the other one needed a few stitches since the glue didn't really stick to the felted sweater used for the foreground).

I got super lucky when I was going through my felt scraps to find bits for the tombstones I found some bits from a felted wool sweater.  It was a striped sweater and the one color was perfect for a dark earth look BUT it also had just a tiny bit of the yellow from the stripe next to it so it looks like moonlight shining on the ground.  I love when happy accidents happen like that.

Then I added my last jack-o-lantern button (I want to get another card of those, they're cute but not too cute).  The true art is more detailed with a bunch of stones and a pathway and all kinds of pumpkins.  I simplified it a lot.

I have to pause to mention how great that purple background fabric is.  I was going for either a dark blue or purple and when I spied that purple it beat out the few blues I had pulled as contenders.


That's the background.  Crazy dancing skeletons.  I was tempted to use the same purple fabric for the backing/frame and I was tempted to use solid black but once I saw this fabric I had to use it.  Its' a nod to Jack.

(I also sent along a package of these super cool Nightmare Before Christmas buttons.  They have full figures of Jack and Sally, two Jack faces, AND a full figure button of ZERO!  I have a pack for myself but I was feeling greedy and didn't want to use any of mine so my swap partner got her own pack. . .she's a great swapper so she deserves a great bonus).


O is for Oogie Boogie, looking all sinister.

I hadn't planned to do two Nightmare Before Christmas patches in this set but it just worked out that way.

Oogie is made from a thicker type cotton (it's kind of like a khaki pant thickness) fused to a regular quilting cotton background fabric (it's a bright green, the pic washes it out a ton).  His face is heat set fabric marker (I made a stencil from the image I had and it worked like a charm).

This was a simple patch, too, but looks really cool.  It's a bit big but I think it needs to be big to really get a good look at Oogie's face.


The backing.  Yes, I fussy cut a bit to make sure the "something wicked" fully showed on the back (wasn't a big deal since it was at the edge).

Once again, my fabric stash comes through for me.  I thought I might have to get a piece of burlap-esque fabric for Oogie Boogie but that heavier weight cotton has just enough texture to it to pull off the look.

Next up are patches for P, Q, R, and S.  I have a few ideas already but I haven't given it a good think yet, so nothing is set in stone.

Tuesday, December 1, 2015

TUTORIAL: Bacon Plushie

Ok, here it finally is.  You're going to totally eyeroll when you see how stupid simple this "pattern" really is.

First, a recap of the supplies can be found HERE.

BACON PLUSHIE TUTORIAL:


Start by making a pattern/template.  I didn't provide one in the tutorial because it's really simple to just do yourself.  Then you can make the bacon whatever size you want.

To make the template, I started with a piece of paper and drew the wave side the length I wanted the finished bacon to be.  I cut out the wave and then traced it onto a piece of cardboard, making sure the waves were parallel to one another and were spaced as far apart as the width I wanted for the finished bacon.  Then I made a second template for the fat using the cardboard template (so the fat would match the wave of the bacon).  Use the bacon template to decide how wide to make your fat stripes.  Also, keep in mind the seam allowance (add a 1/4 inch all around the bacon template if you want the finished bacon to be the exact size of the template. . .if you don't add a 1/4 inch on each side, your finished bacon will be smaller than the template.  You do not add a seam allowance to the fat since you will be top stitching it to the bacon pieces before you assemble them)

(I strongly recommend you make the templates on cardboard.  It helps to have a thicker/sturdier template for this project, especially for the fat stripes since the fat is a narrow piece)


Cut out two bacon (mirror images of each other) and 4 fat total (2 a mirror of the others).  Before you sew, double check that you have matching fats for each bacon side.

Tip:  I use a super fine point sharpie when working with darker colored fleece.  I have tried using tailors chalk and wax pencils and it just doesn't give a good enough line for me to see.  The fine tipped sharpie makes a dark line (I will double trace to make sure) but it's also a narrow line, so when you cut on the line it pretty much disappears and won't be able to show through on the finished item.  (use a disappearing pen for the white fleece so no pen marks will show on your finished product)


Pair up a set of fat with each bacon half, making sure the wave of the fat is parallel to the wave of the side of the bacon (that's hard to describe but the picture shows what I'm talking about).

Take one bacon side and fold it in half to get the mid-line.  Center a fat on each half of the bacon side and pin (to the right side of the bacon side).  Pin the fat strips to the right side of the other bacon side, making sure the sides match one another.

My tip for getting a good match on the two sides is to layer them.  Pin the fat onto one front of the bacon and place fat stripe side up on your work surface.  Then lay the loose fat stripes (right side down) onto the pinned fat stripes (making sure the waves match).  Then layer the loose bacon side onto the stack (right side down).  Flip the entire stack and pin the loose fat stripes to the right side of the bacon side.  I know it seems fussy but you'll get the best results if you match the fats as best as possible.

With the fats pinned on each side, TOP STITCH the fat to the right side of each bacon side.  Use the same zig zag stitch you used for the egg (wider is better than narrow).  Be careful to make sure the stitch goes over the edge of the fat and into the bacon.  Top stitch all the long sides of the fat for both bacon sides.


Cut two eyes from black felt.  The size of the eyes will be based on the size of the fat stripes on your bacon.  I like the fat to be a bit wider than the eye.  Position the eye low or high on the toy (I prefer low) and hand sew using three strands of matching embroidery floss.  I position the eyes on the fat to insure they won't get caught in the side seam during assembly.  Using three strands of white floss, add shine to the top of each eye (I do a single stitch on each eye).


With black floss (three strands), hand stitch the mouth between the eyes and between the fat stripes.  Use a back stitch or stem stitch.  I prefer a back stitch (and usually take three to four stitches for each mouth, but it will depend on the size of your bacon).

(really, you could put the eyes horizontal or however you want, this is just how I do it)

Pin the two bacon sides together (ride sides facing) and sew using the same zig zag stitch you used to attach the fat stripes.  Leave an opening at the top of the bacon, between the fat stripes.  Clip the corners and turn the bacon right side out.  Roll the seams to make the wave of the bacon really stand out and then smooth the bacon flat.

Now you will topstitch along the sides of each fat stripe using a straight stitch.  This is why you wanted to line your fat stripes up as best as you could before you attached them to the bacon sides.  If they are lined up nicely, when you do the straight line top stitching the stitches will line up very well on the back of the piece.

When doing the straight line top stitching, stitch with the bacon's face UP.  You want the best stitching on the front side of the item (bobbin stitches aren't as pretty as top stitches).  By topstitching on the front side of the bacon, you also insure you'll get the stitching as close to the fat edge as possible for the best look.  Don't fret if the stitching misses the mark a bit on the back.  It happens even with the best pinning and careful sewing.  That's why I prefer to use nappier fleece for the bacon (and neutral thread).

When top stitching you'll encounter a lot of bulk at the ends of the bacon.  My tip is, when starting the stitching (at the beginning of a fat stripe) start with the bulk behind your presser foot (so start a bit in from the bulk).  Sew all the way down the fat and keep stitching right off the end of the bacon.  I've found my machine is fine with going over the bulk when it's at the end but does not like starting on the bulk.  Then you can go back and stitch the small bit you skipped (turn the project and stitch down/off the edge of the toy) or just skip it entirely.  It depends on your preference.  I've done it both ways and you can't really tell when you skip that inch or so at the edge.  In fact, you could probably stop/start before all the bulky edges.

Tip:  you don't have to back stitch on the top stitching step if you don't want to.  You can pull the top thread to the back of the project and knot it off.  I do machine backstitch but only a tiny bit.  I've found the nap of the fabric hides that tiny bit of extra stitching (neutral thread helps, too).


Ladder stitch the openings shut and enjoy you deliciously cute new friends.

BONUS TIP:  Since you decide what size to make these, you can make them smaller to make tree ornaments or cat toys.  I used the trimmings from the fat stripes on these bacon to make fat for a cat toy sized bacon using the same steps (but I didn't make a face).  Add some cat nip before you do the top stitching (for the bacon) and as you add the yolk (and before you topstitch around the yolk) on the egg.